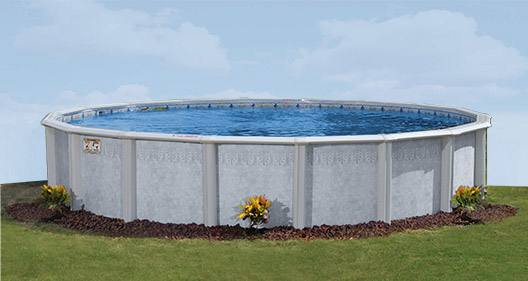
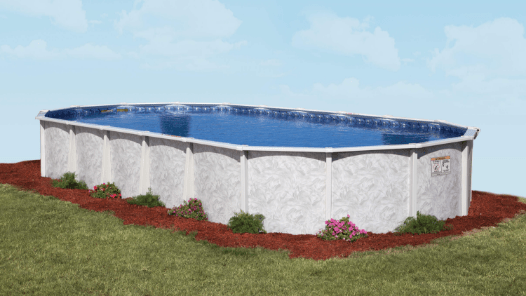
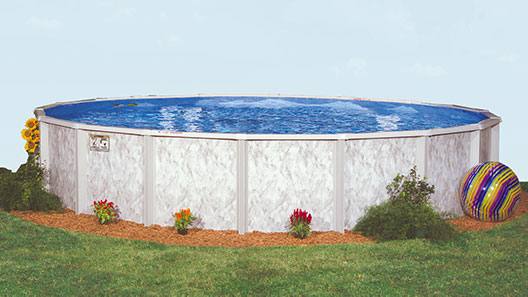
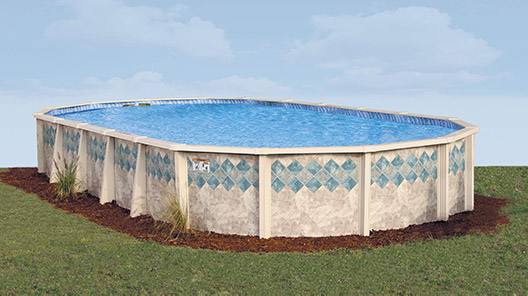
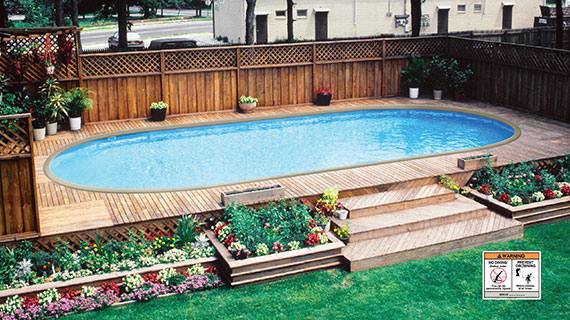
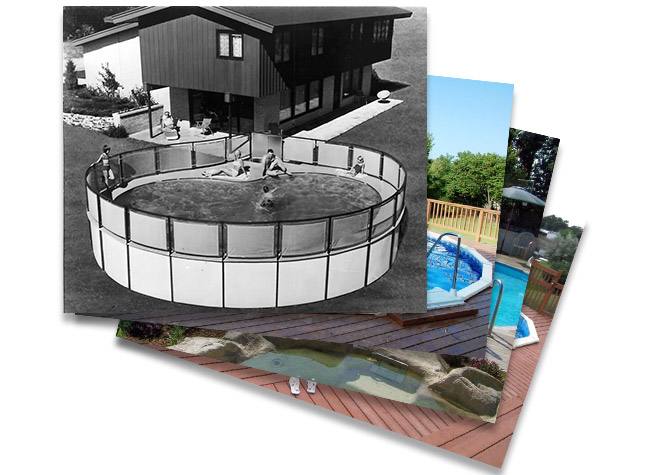
What better way to create generations of family fun in the backyard than with your own above-ground pool? It can be a great way to relax and cool off with your loved ones, but the thoughts on how to install an above-ground pool can be daunting. Specifically, the thought of having to pay a professional installer may not be appealing.
Fortunately, with the right tools and some investigation, you can install a Doughboy® above-ground pool yourself. Here, we’ll go over the four primary stages for successfully installing a Doughboy above-ground pool.
How to Install an Above-Ground Pool
The stages outlined here are common to Doughboy’s round above-ground pool installations. Please note that the overall procedures will vary depending on the pool model. Therefore, we recommend watching the instructional videos on the Pool & In-Wall Step Installation Videos page on our website where you can also view our video on how to perform an oval pool installation.
Be sure to read all the written installation instructions included in your Doughboy Pool package. Also, be sure to consult your local jurisdiction on how to make your pool installation compliant with all relevant codes.
Stage 1: Ground Preparation
Once you’ve chosen the area for your pool, you’ll need to create an outline that is the same size as your pool. Use stakes and string to create the appropriate shape.
Before you begin setting up the pool structure, you need to prepare the ground. If you’re installing the pool in a grassy area, you’ll need to remove the grass and level the ground. Once the ground is cleared, use a level to double-check that it’s flat.
Stage 2: Assembling the Framework
With the ground prepared, you’re ready to assemble the pool’s framework. Start by inserting the bottom rails into the vertical end caps. Continue in this manner until all the bottom rails are connected, completing the shape of the pool.
Recess the patio blocks into the ground under each end cap, making sure the bottom rails stay level throughout. Clear the ground within the pool perimeter again, removing stones, twigs, or any other debris that may puncture the pool floor. At this point, you also have the option of adding sifted earth or sand to the ground and leveling it to create a smooth foundation for your pool floor.
Stage 3: Installing the Pool Wall
Next, you’ll need to install the pool wall. For best results, be sure to install the pool wall when weather conditions are favorable (i.e., not windy). Make sure the track you have put together is clear of dirt or sand. Then, start by removing the pool wall from its box. With the coiled wall standing upright, unravel six to eight feet of it at a time, placing the bottom edge within the bottom rail’s groove on the side that you will install your electrical connection for the pump and filter. Pro Tip: Make sure that the side edge of the pool wall is centered within the starter end cap so that it will be masked by a vertical later.
As you insert each wall section into the bottom rails, place the included stabilizer rails onto the pool wall’s top edge, telescoping one over the other about six inches and securing them temporarily with duct tape. Continue this process until you bring the wall ends together in the starting bottom end cap and align them appropriately.
The wall ends in Doughboy Pools connect in one of two ways: by inserting a slide bar joint piece or by fastening the walls together using the nut-bolt closure system. Refer to the instructions included in your pool kit for the correct procedure.
With the pool walls in place, the next steps include:
- Treating the skimmer openings
- Assembling and installing the verticals
- Installing the top rails and top connectors
- Placing the cove (either earth cove or premanufactured cove) along the bottom interior of the pool’s perimeter
The installation of these items can vary depending on the pool model. Therefore, you should refer to the included installation instructions to suit your pool accordingly.
Step 4: Install the Pool Liner and Finishing
Before installing the vinyl liner, inspect the ground once again, clearing any debris and smoothing the surface before tamping it down. Now, it’s time to install the pool liner.
Installing the pool liner requires occasional adjustments and maneuvering of the vinyl. Therefore, you should have help from two or three other people when performing this task. Please refer to the enclosed installation instructions at all times and watch our installation videos linked above for notes on precise liner placement and measurement.
Start by laying the rolled-up liner on the top rails. Then, outstretch the liner so that the excess drapes around the outside of the pool and that the center depression is six to 12 inches from the ground. Make sure that the liner is centered and level, and remove any bunching or wrinkles you see in the vinyl.
Secure the liner to the top rails according to the enclosed instructions, and begin filling your pool with water. As the water volume increases, adjust the tension in the vinyl by occasionally lifting the liner from the top rails and feeding it little by little into the pool. Once your pool has about two feet of water in it, remove the top rail framework in sections and secure the liner to the pool wall according to the instructions. Once the liner is secured all the way around the pool, reattach the top rail framework.
From there, you’ll install the pool’s remaining pump and filtration components including
- the skimmer
- the pump
- the filter
Refer to the instructions included in the packaging of these components for details on how to attach them to your specific pool.
The final step is to fill the pool with water from your garden hose. This may take several hours, so be patient and plan ahead. Fill the pool slowly to avoid putting too much pressure on the liner. As the water level rises, make sure to check that the liner is still level and that there are no wrinkles. Once the pool is full, turn on the pump and let it run for a few hours to ensure that the water is properly circulated.
Resources on How to Install an Above-Ground Pool
As mentioned above, we highly recommend visiting the Pool & In-Wall Step Installation Videos page on our website so you may tailor your installation procedure to the specific pool model you have, be it a round pool, oval pool, or recessed pool. On that page, you will also find a video on how to install our patented in-wall step system for pools that are either recessed or surrounded by a deck.
Installing your Doughboy Pool can be a cost-effective way to ready your backyard for many fun swim seasons, but it’s important to do it right. By referring to the steps above and by closely following all the instructions included in your pool package, you can successfully install your above-ground pool yourself.
Contact us at Doughboy Pools should you have any further installation or ownership questions. If you choose to hire a contractor to install your pool, reach out to a dealer near you who can help you identify qualified professionals.


