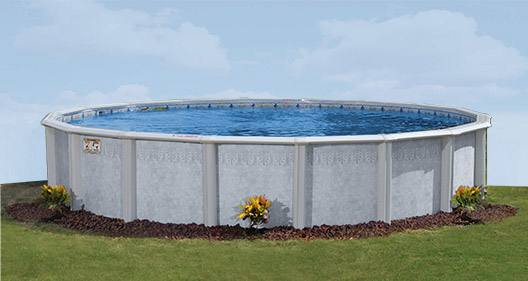
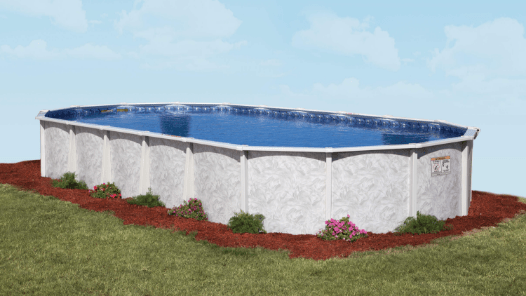
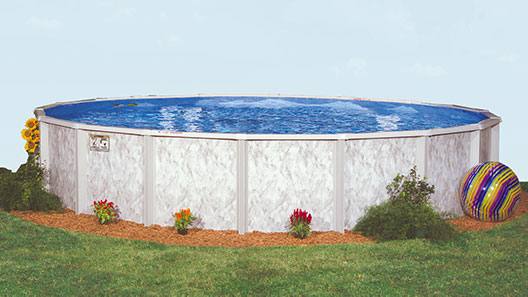
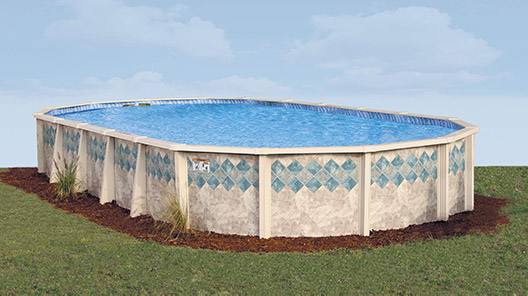
Setting up an above ground pool in your backyard is an exciting adventure that promises endless hours of summer fun and relaxation. However, one crucial aspect that often gets overlooked is ensuring that the pool is properly leveled. A level pool not only provides stability and safety but also ensures optimal performance and longevity. We’ll guide you through the essential steps to level an above ground pool, helping you create a sturdy foundation for endless aquatic enjoyment.
1. Choose the Perfect Spot for Your Above Ground Pool
The first step in leveling an above ground pool is selecting the ideal location in your yard. Look for an area that is relatively flat and free from any obstacles such as tree roots or rocks. The ground should be stable and able to support the weight of the pool, water, and swimmers. Taking the time to find the perfect spot will save you headaches down the road.
2. Prepare the Ground
Once you’ve chosen the spot, it’s time to prepare the ground. Clear away any debris, rocks, or vegetation that may hinder the leveling process. Use a shovel and rake to even out the surface, removing any bumps or uneven areas.
3. Check for Level
Now comes the moment of truth. To ensure that your pool will be level, you’ll need a reliable leveling tool such as a long, straight board or a laser level. Place the leveling tool across different areas of the pool’s proposed location, checking for any deviations from a straight, level line. Take note of any high points that need to be adjusted.
4. Adjust the Ground
To level the ground, you always level to the lowest spot within the circle. Remove the high points – do not fill in low spots. The ground must always be firm and undisturbed. Regularly check the level as you make adjustments to ensure accuracy.
5. Ensure Above Ground Pool Stability
After leveling the ground, take a few minutes to double-check that it is indeed level on all sides. To ensure stability, the framework of your pool must sit on flat ground that is within one inch of level on opposite sides. This step is vital – it’s better to spend more time on this now than to have to disassemble your pool and re-do this step later.
Also, be sure that your pool area is free of sticks, roots, stones, or anything else that could puncture your pool liner.
And that’s it! When you purchase your pool from your local authorized Doughboy dealer, it will come with installation instructions with diagrams and greater detail to ensure you know exactly how to install your pool. Be sure you or your installer follow the installation instructions exactly; failure to follow the instructions will void your warranty.
Your Doughboy Pool can also be installed with a deep swimming area. If you’re interested in this type of installation, be sure to ask your authorized Doughboy dealer for our Below Grade Instructions.
To learn more about pool installation – and see for yourself what the process is like – watch our pool installation videos. With Doughboy, you’ll have everything you need for a perfect swim experience.


